
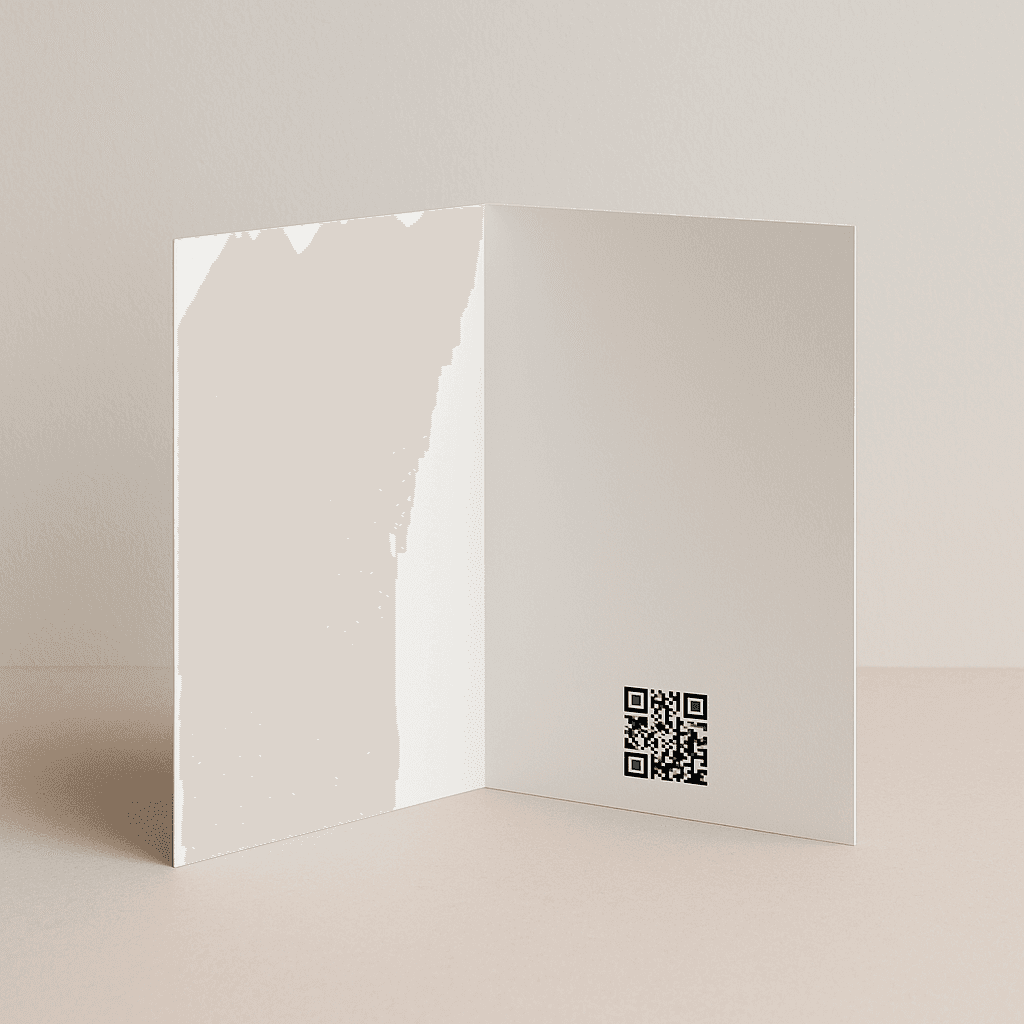
How do you put a QR code in a birthday card?
Create a page for your birthday message, copy its share link into a QR code, print the code with a clear white border, and test the finished paper card on another phone. The recipient scans the QR with their camera and taps the link to open your video, voice note, photos, or letter.
For a gift they can open today, use a birthday QR Keepsake. For a gift that should stay sealed until a future birthday, choose a birthday Time Capsule. Both use QR codes; the opening behavior belongs to the keepsake, not the printed pattern.
Use the free printable birthday insert or open the public example. The printable tool is free without sign-in. Hosting your own keepsake has separate limits.
Decide whether the surprise opens now or later
A birthday this week, or a card being opened today: choose QR Keepsake. It opens immediately after creation, so finish collecting the messages before handing over the card. It does not have a lock date.
Writing for an 18th birthday years away: choose Time Capsule and select a future reveal date. A viewer scanning early sees a locked experience, with the content withheld until reveal. The builder selects a date; check the saved reveal in your preview before promising a particular midnight or party time.
If you mail the card, “Open when it arrives” is easier to use than a reveal that happens before the envelope reaches them. For a future milestone, write the intended date next to the QR so they know why it does not open yet.
Make the keepsake in Reanimation Lab
- Open the birthday builder and choose the format. The birthday template has separate buttons for an immediate QR Keepsake and a future Time Capsule. Its birthday category and theme are starting points you can change.
- Use “Your Story” for the title and message. Choose a recognizable title, such as “A few things we love about your 18th year.” Write a short opening letter so the page makes sense before anyone presses play.
- Use “Add Media” for the memories. Add photos, a voice recording, and videos. The creator interface supports up to 50 images, three videos, and a voice message; its file checks limit each image to 12 MB and each video to 500 MB. Keep the original files on your own device.
- Review “Share” or “Reveal & Share.” For a Time Capsule, select the future date. Review Access Control and add invitees by name and email. Public content can appear on Explore. Private visibility keeps a keepsake out of public discovery, but anyone with a forwarded share code can view it once it is open.
- Complete “Plan & Launch.” You can draft before signing in; finishing uses the account flow. Free hosting lasts 14 days from creation, not from the birthday. Premium is $4.99 once per keepsake, and Collaborative is $29.99 once. Read the pricing and hosting terms before choosing a gift that must stay available.
- Open the finished keepsake's “Sharing Center.” Copy the shareable link or select the QR to open its sharing options. Choose a printed size, then “Print 2 x 2 in insert” (or your selected size). Alternatively, paste the copied link into the free 3 × 4 inch birthday insert and print or save it as a PDF.
Use the keepsake's share link, not a temporary download URL for an individual uploaded video. The QR is a shortcut to an address; it does not upload files or keep the destination online by itself.
Choose what your birthday QR opens
A short video
Start with their name, tell one story, and finish with a wish. For example: “Alex, I still think about the picnic you rescued in the rain. I hope this year brings you people who make the ordinary days as good as you do.” This is a fictional example to adapt. Record somewhere quiet and watch the whole clip before uploading.
A voice note
A familiar voice can carry the gift without a camera. Try: “Happy birthday, [name]. I remember [specific moment]. It showed me [something you appreciate]. This year, I hope [wish].” Speak at a comfortable pace and listen for background noise. The voice-note guide includes more recording prompts.
A few photos and a letter
Choose three photographs with different stories. In the letter, explain when each was taken and what happened outside the frame. A small gallery with context gives the recipient more to enjoy than dozens of unexplained pictures.
Messages from friends and family
Ask each person for one memory or one wish, with a clear deadline. Free and Premium allow two invited collaborators; Collaborative allows up to 25. Group limits are shared across the keepsake: 50 photos, three videos, and 50 written messages, rather than that allowance per person.
For a larger video montage, have people send clips to the organizer and combine them into a video before uploading, within the file and video limits. Contributors sign in with the invited email; sending a viewing QR is not the same as inviting someone to contribute. The group birthday video collection guide explains a practical collection plan.
Try a real, scannable example
This QR opens a public fictional birthday page with an original letter, illustrative image, computer-narrated audio, captioned video, and group messages. It uses no customer records or personal media.
Scanning on another device is useful practice for the finished card. If you are reading on your phone, tap to open the example.
https://reanimationlab.com/examples/birthday-keepsake
Print a code that is easy to scan
- Keep the white border. DENSO WAVE specifies a clear margin at least four small QR squares, or modules, wide on every side. The printable resource includes that margin. Keep text, decoration, and cut lines outside it.
- Use strong contrast. Black squares on white paper are a straightforward choice. Do not stretch, crop, or cover the code. Keep birthday artwork around it.
- Print at actual size. The printable tool uses a 3 × 4 inch card with a roughly 1.6 inch QR. This is a starting layout, not a universal minimum: URL length, printer quality, and the camera affect scanning. Check the actual paper result.
- Choose a flat surface. Avoid folds, seams, heavy texture, and reflective coverings. If glare interferes with scanning, move into even light or use a matte insert.
- Test after printing and trimming. Use a second phone, in ordinary indoor light, signed out of your creator account. Confirm the right gift appears and the media plays. For a future capsule, confirm it shows the intended reveal date.
- Add an instruction and fallback link. “Scan with your phone camera, then tap the link” is enough for many recipients. Our insert also prints the destination, so the gift still has a route in if scanning is difficult.
On iPhone or iPad, open Camera or Code Scanner, put the QR in view, and tap the displayed link. A birthday QR does not need a special “birthday card scanner.” If nothing appears, check focus and lighting, move the camera a little farther away, and make sure the code has not been cropped.
Sources: DENSO WAVE: QR code margins and sizing; Apple: scanning QR codes.
Write one inviting line above the QR
- Immediate gift: “There is one more birthday surprise. Scan when you have a quiet minute.”
- Group gift: “A few people who love you wanted to be here. Their messages are inside.”
- Future birthday: “A letter from today, saved for your 18th birthday on [date]. Keep this card.”
- Mailed card: “Open this when the envelope finds you. Headphones are optional; cake is encouraged.”
These are original sample lines. If the recipient is turning 18, use the complete 18th-birthday letter examples for the message itself.
Will the birthday QR still work next year?
The printed pattern does not expire on a timer. Its destination can become unavailable if hosting ends, the owner deletes it, or the service or address changes. Reanimation Lab's free keepsakes expire 14 days after creation. Paid plans provide ongoing hosting under the current service without a recurring fee; that is not a promise of permanent storage.
Save the letter and original photos, audio, and video in a named folder outside the service. Keep another copy in a separate place. Check the backup and printed QR before a future milestone. A screenshot of the QR is useful for reprinting, but is not a backup of the memories.
A share code can be forwarded. Avoid putting it on a public social post if the memories are intended only for family. Review the privacy policy, hosting terms, and sharing guide.
Make the card open something personal
Start with one specific memory, then add the photo or voice that brings it back. If the reveal belongs to a future birthday, choose a birthday Time Capsule.